Counting fixtures with counters
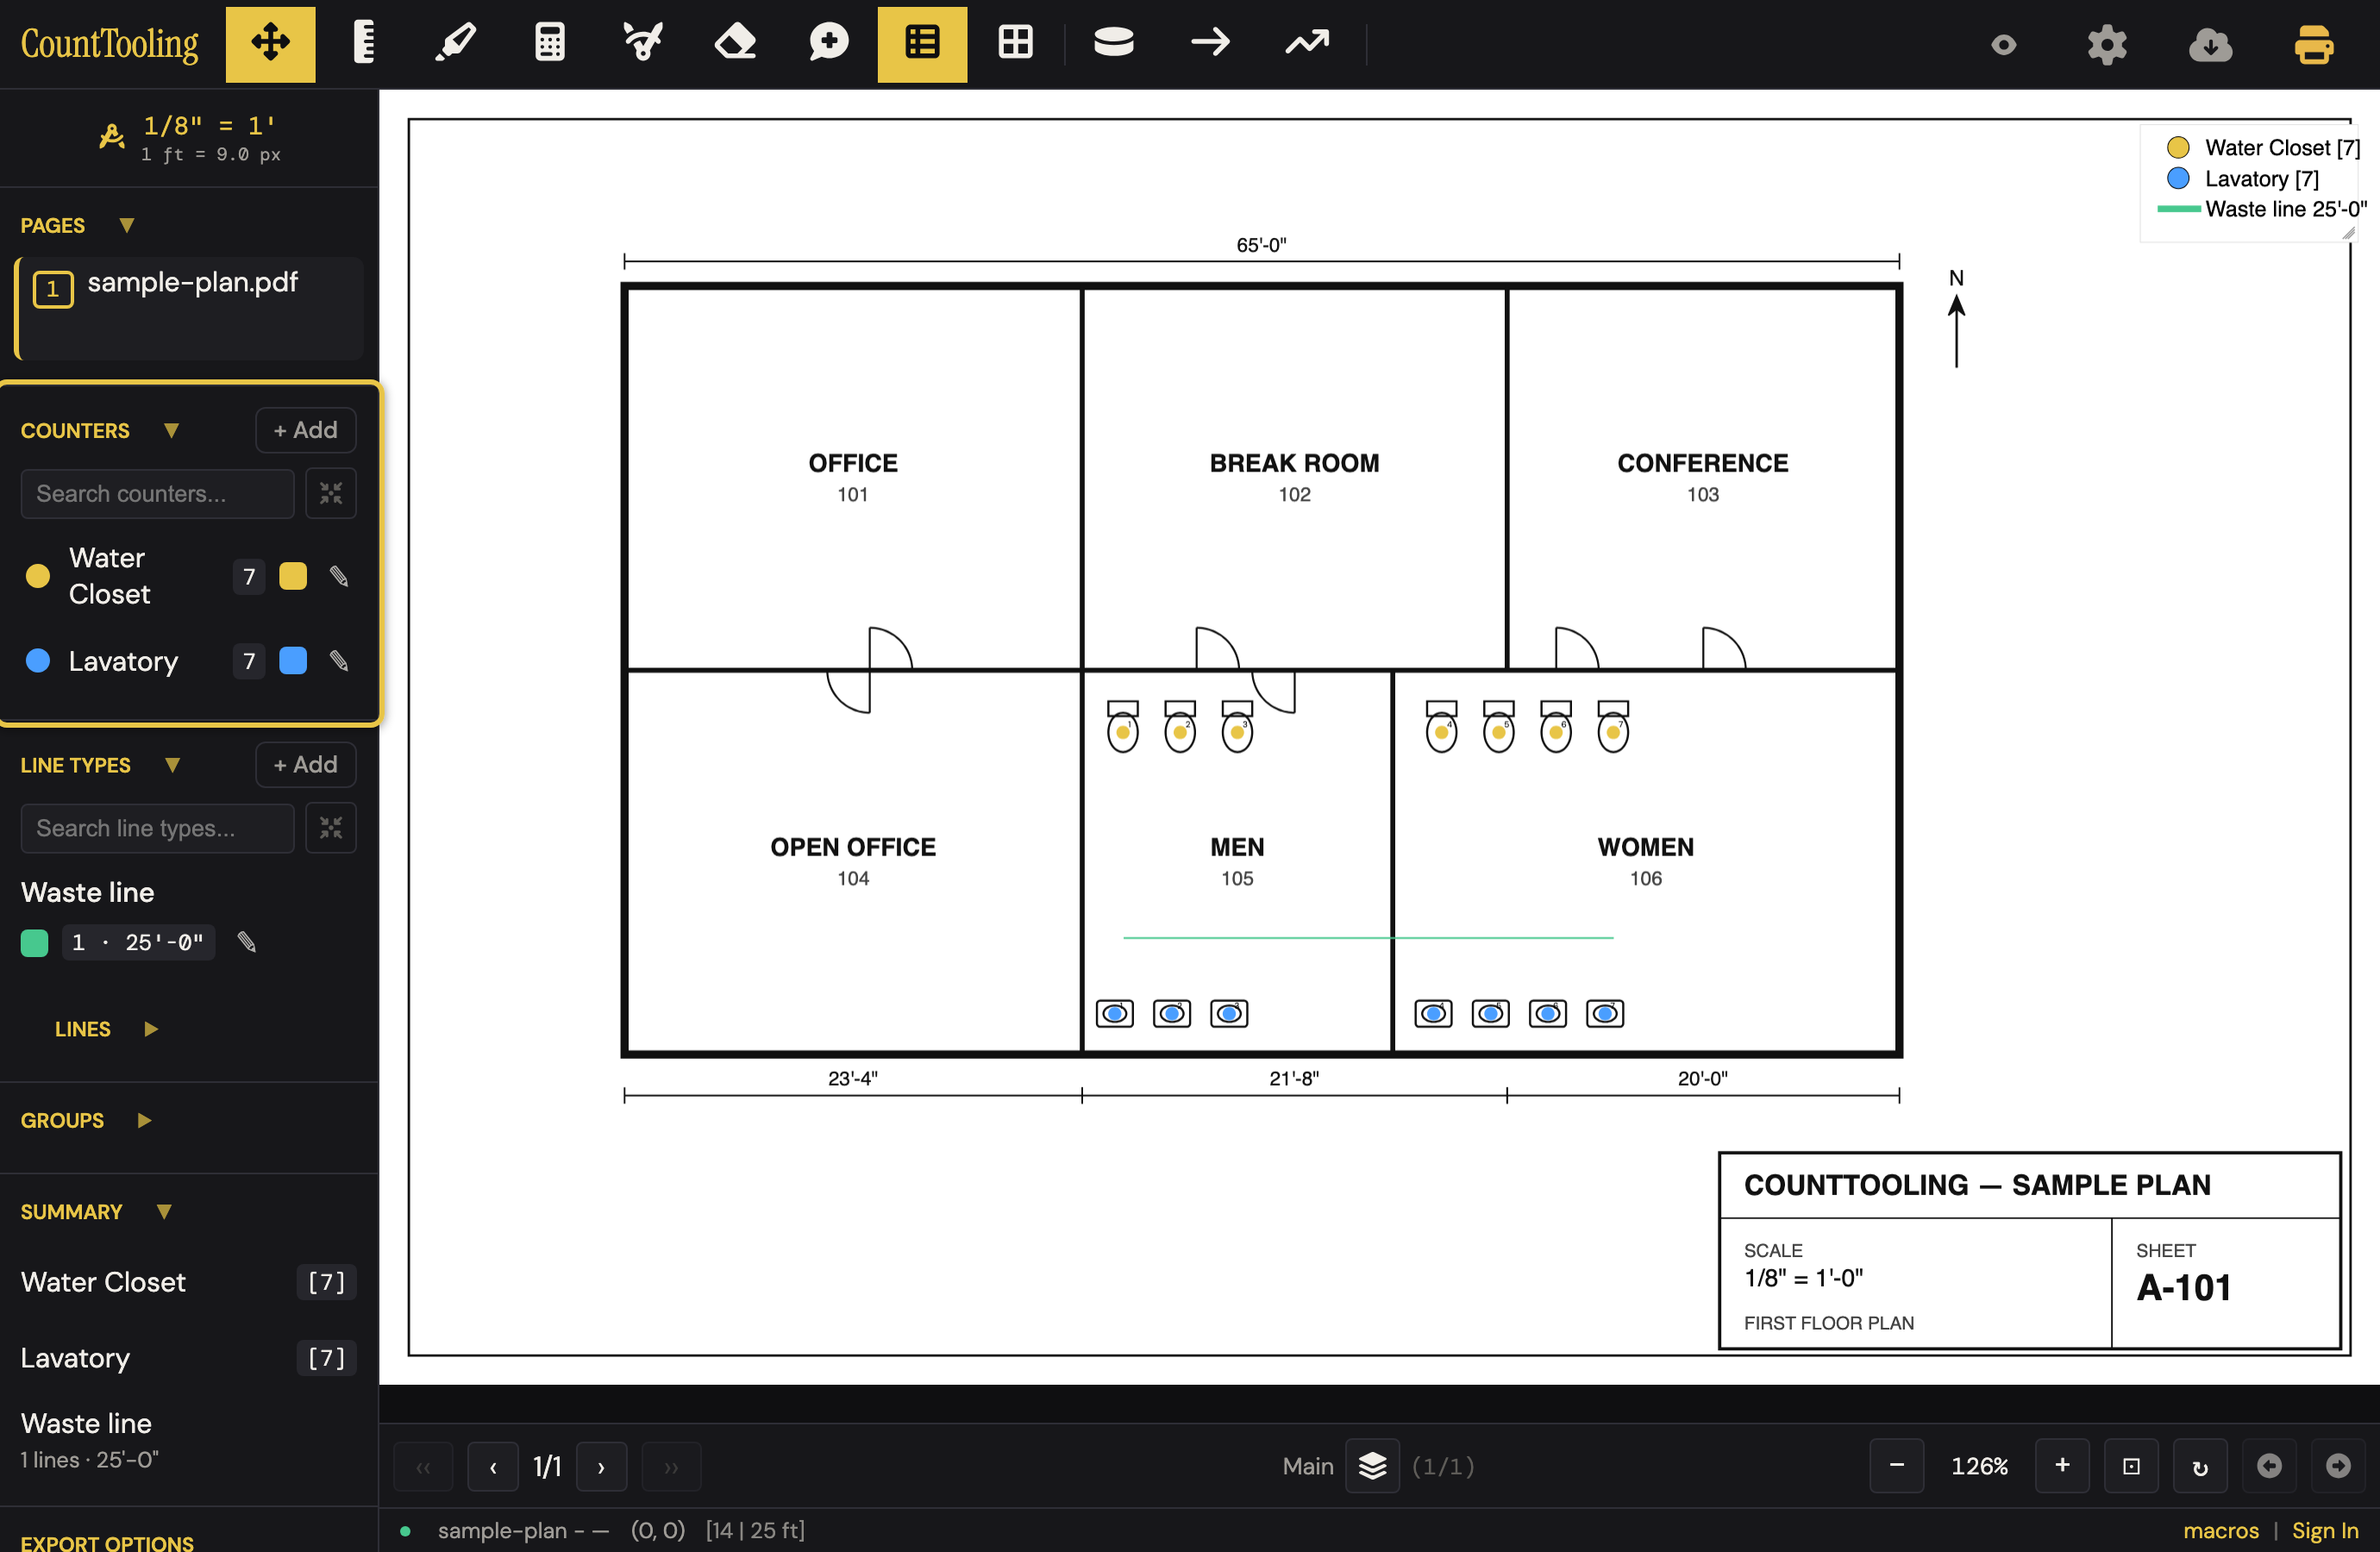
A counter is a point symbol you stamp on the plan: a water closet, a light fixture, a sprinkler head. Each click adds one to the tally, so counting a sheet is just clicking each item.
Try it: the Counting lesson opens sample sheets in the app and walks this with you, two or three minutes, checking each step against what you actually did.
Make a counter type
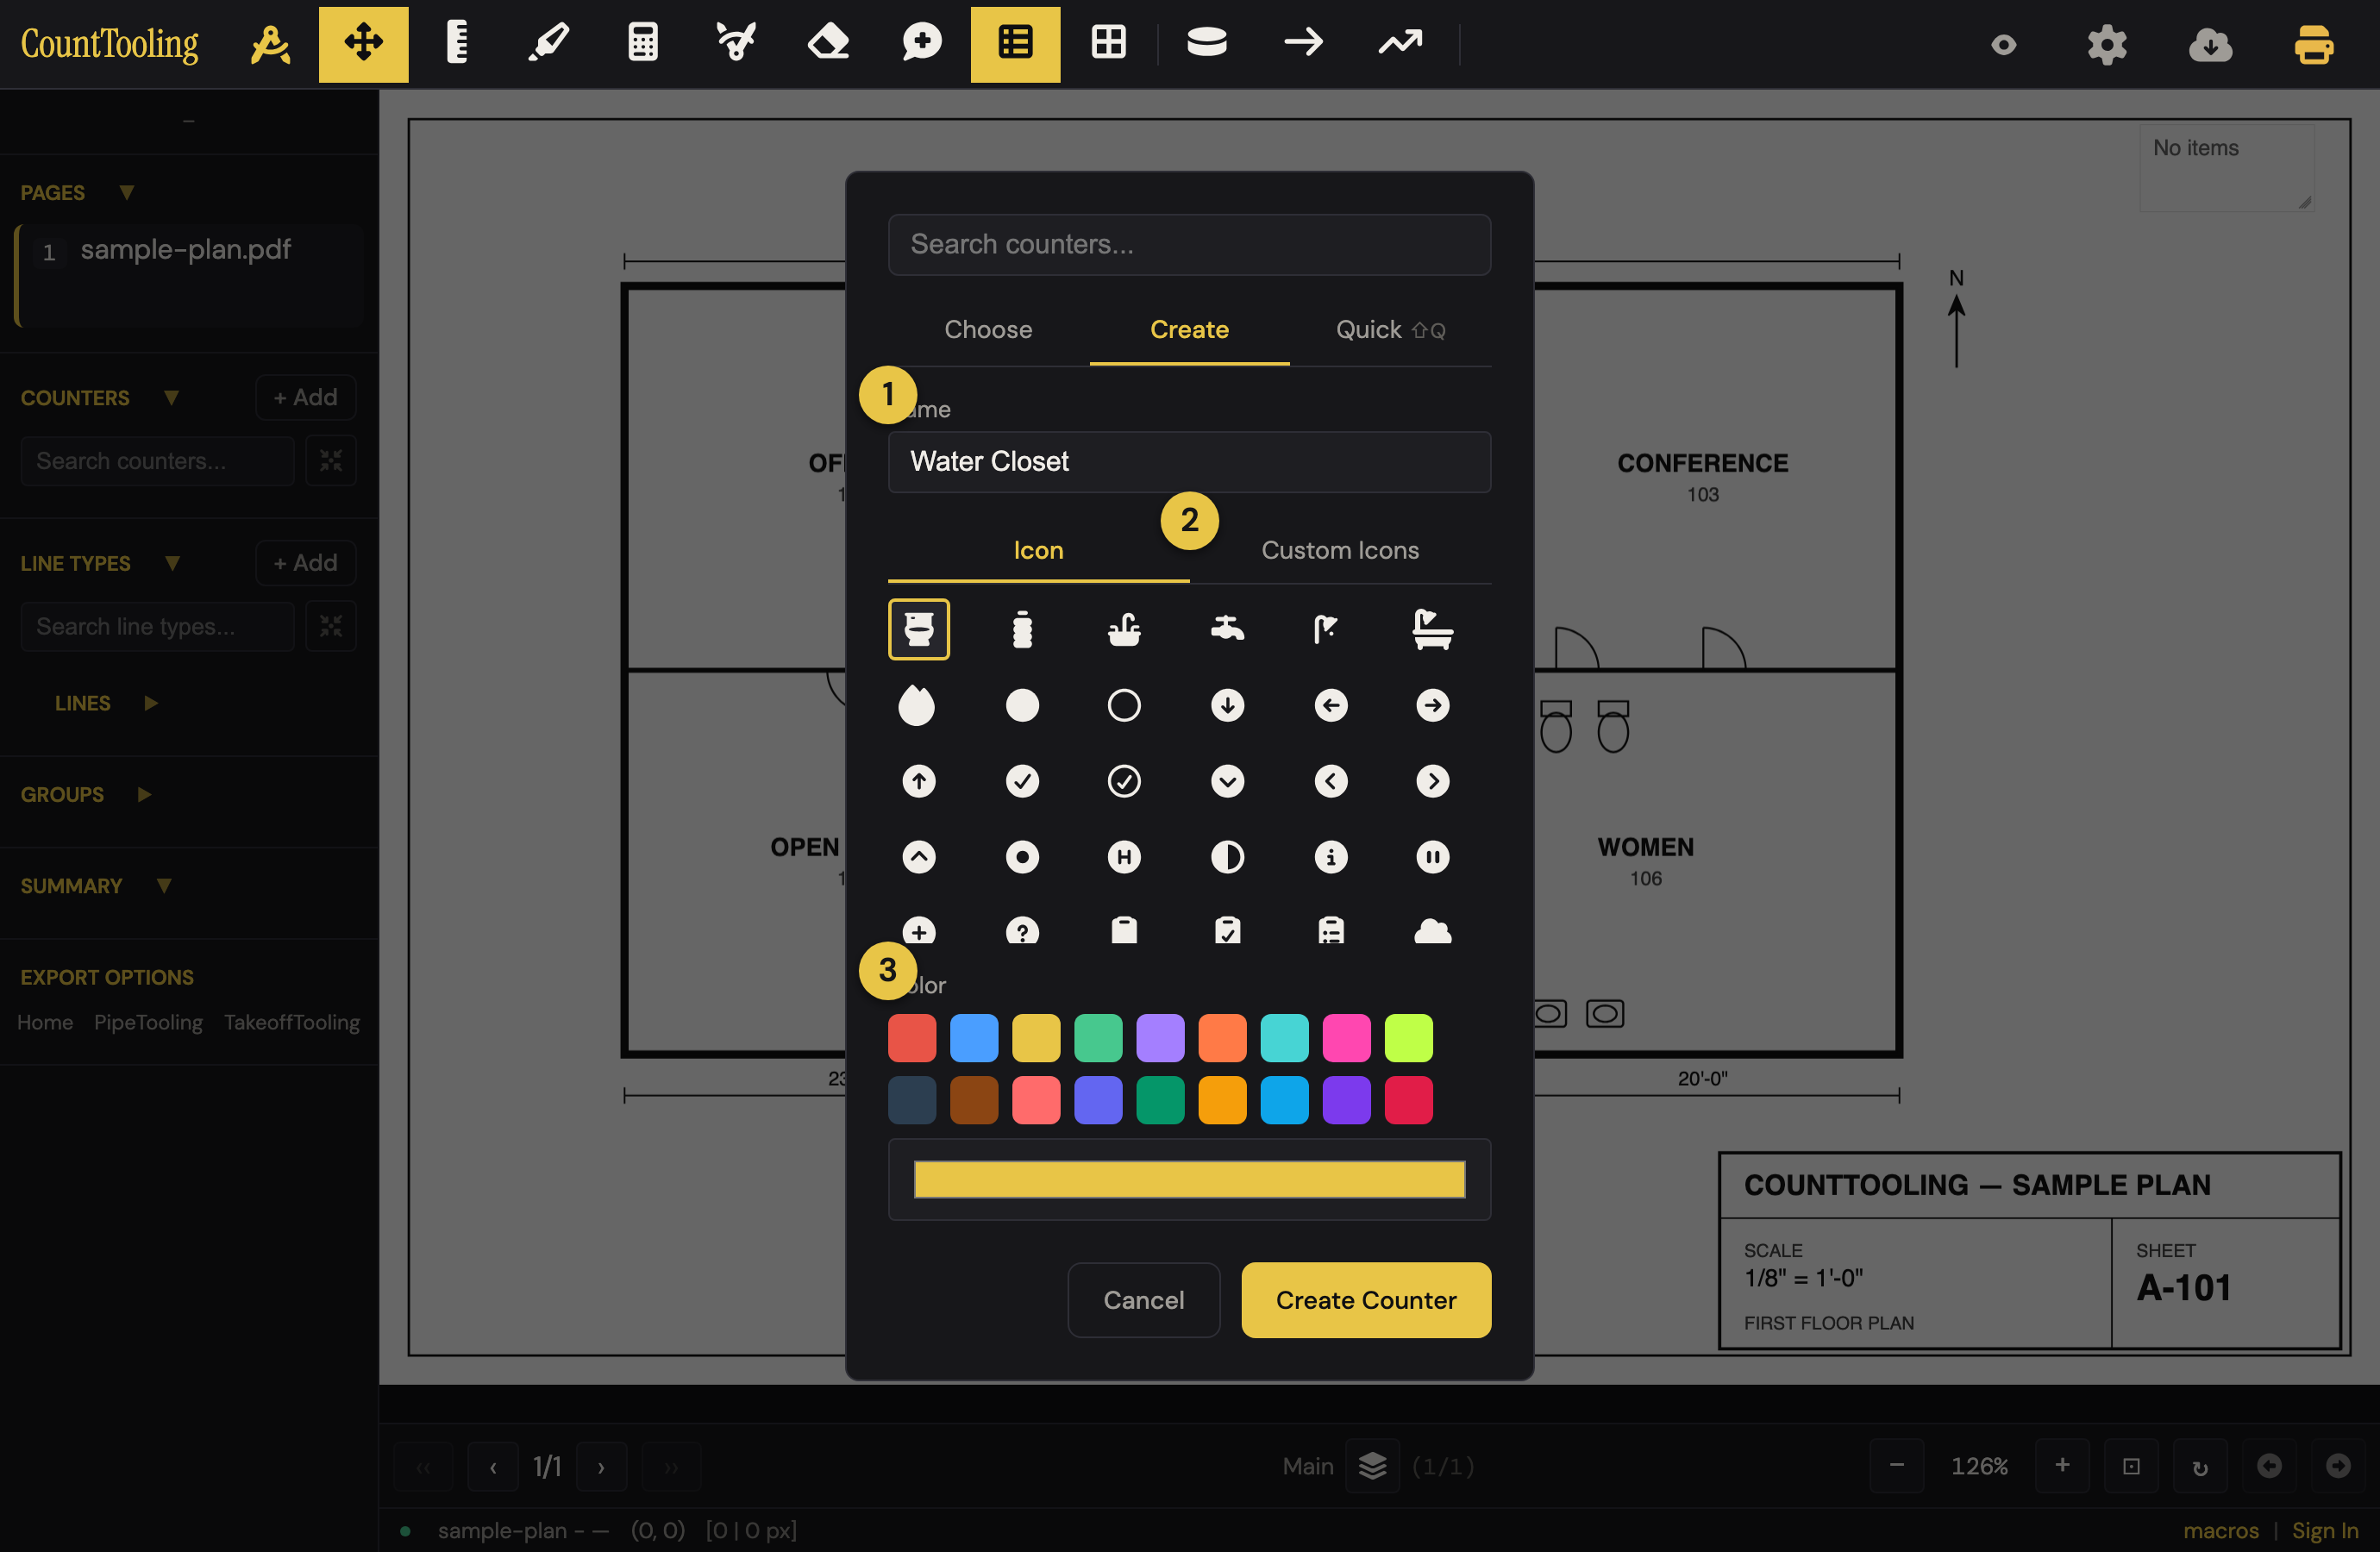
Before you count, set up the type you're counting:
- Give it a name and a color so it stands out on a busy sheet.
- Choose an icon: pick from the built-in set or upload your own SVG for a symbol that matches your trade.
On a plumbing project a Fixture units field sits below the name: type a fixture's name (Lavatory, WC, Urinal, Mop sink) and the app prefills its water supply fixture units from the IPC table for the project's occupancy (Project Settings, beside the code editions), with a chip naming the row it read; type over it and the counter keeps yours, and the chip's public / private word flips that one counter to the other column. A placed mark can carry its own number (right-click, WSFU for this one…), and the Summary totals the fixture units placed. The trade-specific fields (CFM and Flex drop for air devices, Mount height for wall devices) fold under More ▸ air & mounting below the name, so a plumbing counter is name, icon, color and done; on an HVAC or Electrical project the disclosure opens by itself, and it remembers how you left it for the rest of the project.
Then select the counter and start clicking. The running total updates as you go, and it adds up across every sheet and canvas in the project, not just the page you're on.
Keep it organized
On a dense plan it's easy to lose track. A few things help:
- Groups: assign related counters to a group (say, all the fixtures in one restroom) to see subtotals and keep colors meaningful.
- Show only counters used: filter the list to counters placed on this page, or anywhere in this project, so you're not scrolling past palette items you never used. A newly created counter always stays visible until you place its first mark.
- Counter settings: adjust icon size, opacity, the count number, and the ring so marks stay legible at any zoom.
- Point at a mark to identify it: with the Move tool, hover any placed marker (or tap it on touch) and a chip names its counter and its number in that type's page tally: "Water Closet, #4 · 7 on this page". A click pins the chip; clicking elsewhere, scrolling, or any key dismisses it. Works in view-link sessions too, so a reviewer never has to guess what a symbol is.
Fixing mistakes
- Misclick? Undo (Ctrl+Z) steps back through your last moves.
- Placed the wrong type? Right-click the mark (long-press on touch) and choose Delete; the menu names what you hit, so you never delete blind.
- Need to rename or recolor a whole type after the fact? Open its details from the sidebar and every placed mark updates at once.
When the counts are done, measure the runs and then pull a report.