Preparing a plan set
Bid sets arrive as one big combined PDF where only some sheets matter to your trade. A few minutes of preparation makes everything after (navigating, counting, exporting) faster and cleaner.
Try it: the Sheets lesson opens sample sheets in the app and walks this with you, two or three minutes, checking each step against what you actually did.
Upload the PDF
Open the app and click Upload PDF in the header (the same upload also lives in the sidebar). Or skip the picker entirely: drag the PDF from your file manager and drop it anywhere on the app; the empty canvas says so, and a dropped plan opens exactly like an uploaded one. Pick your plan PDF (up to 50 MB); you can select more than one PDF at once (or drop several) and they merge into a single set, in order. Each page becomes a sheet you can mark up.
Trim the set
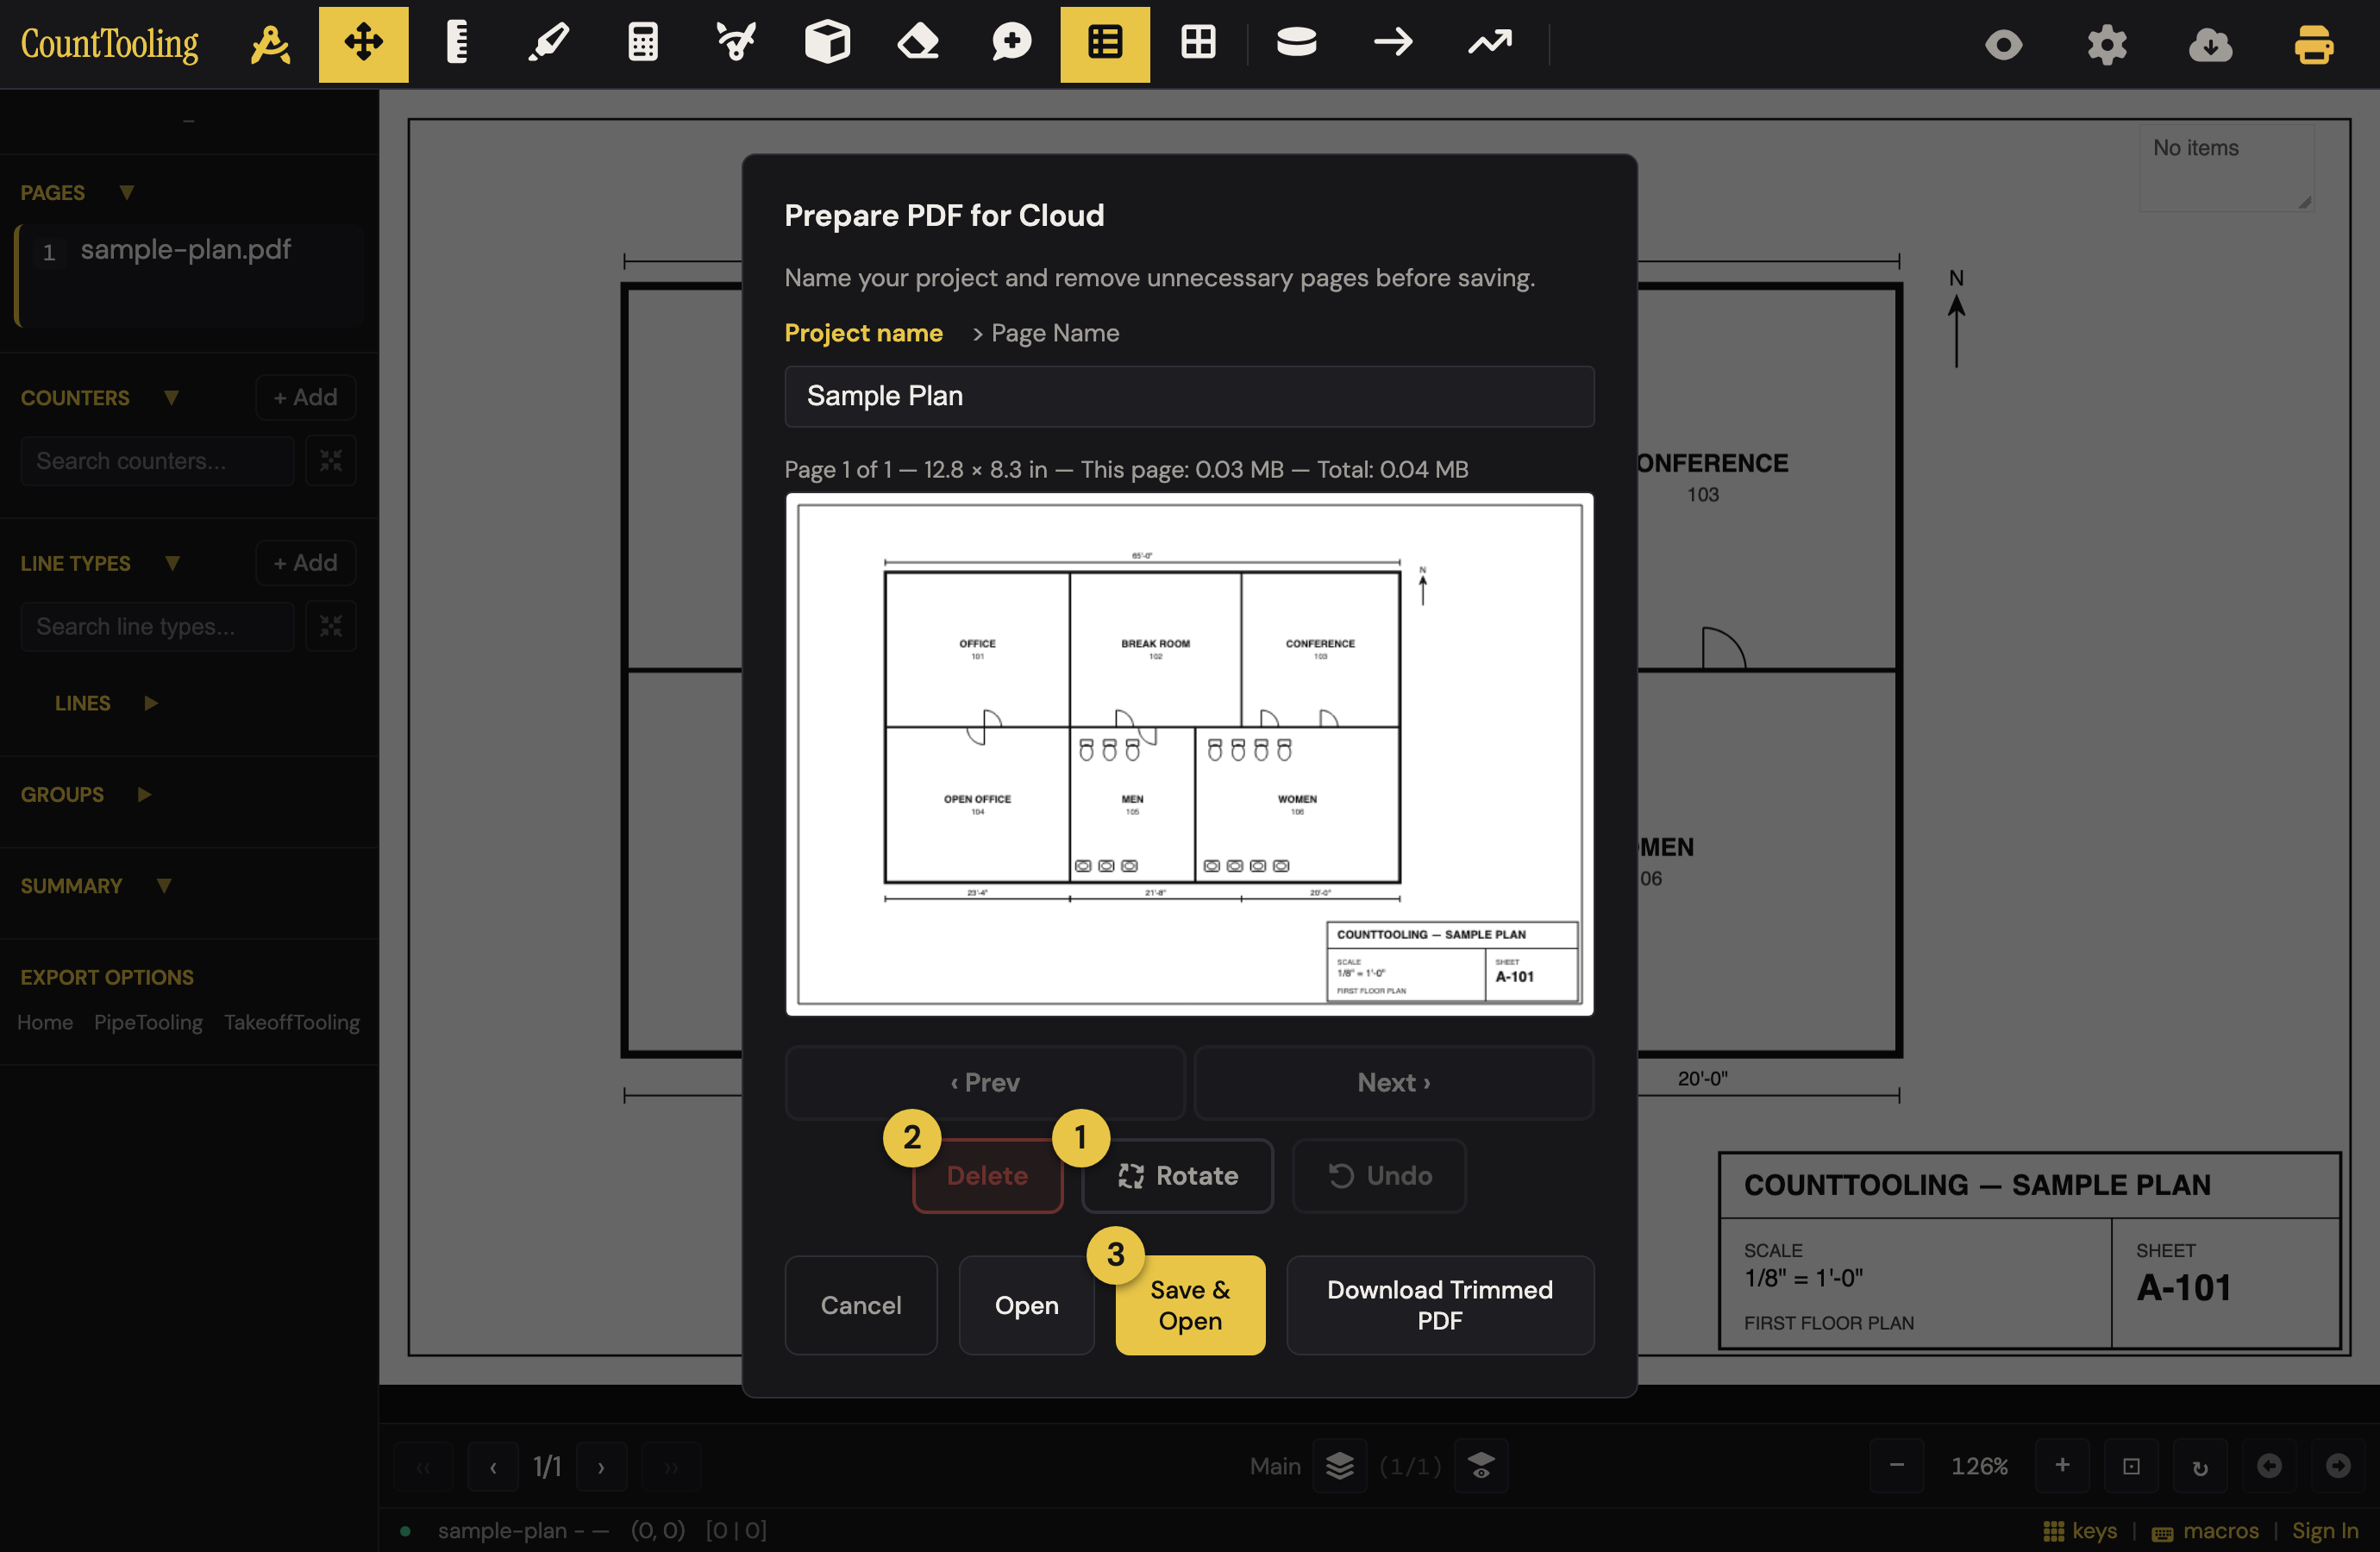
When a fresh PDF comes in, the Trim your set dialog lets you shape the set before you start. Signed out, trimming is purely local and the dialog opens for sets of three or more sheets; a one- or two-sheet upload goes straight in. Signed in, it opens on every new upload. It opens on a grid of sheet thumbnails, the whole set at a glance:
- Tap the sheets you don't need: each tap marks a sheet Removed (it dims with a red ✕ but stays in the grid); tap it again to bring it back. Cutting a big combined set down to your trade is faster inverted: click Keep none, then tap just the sheets you're bidding. Keep all resets. The bar above the grid always shows how many sheets you're keeping.
- Zoom into a sheet: the magnifier on a kept tile opens the full-size view of that sheet, where Rotate and per-sheet renaming live; ‹ All sheets returns to the grid with your changes reflected. (You can also rotate any page later with
R; your marks rotate with the page.) - Rotate : in the zoomed sheet view, turn a sideways-scanned sheet 90° at a time so it reads correctly.
- Rename pages: the name field at the top renames the project or, in the zoomed sheet view, the sheet you're on ("P-201 Underground" instead of "Page 47"). You can rename later from the Pages list too: double-click the sheet's name, or click its number badge.
- Rename the project later: open Project Settings (the gear in the header). The project's name sits under the title with Rename beside it: click it, type the new name, and press Enter. The bid menu at the top left has the same door, Rename this bid…. The new name is saved with your next save, and a project somebody else has checked out is renamed after you check it out.
- Open: commit the trimmed set and start counting. Signed in, Save & open beside it does the same and also saves the set to your cloud projects in one click. Download Trimmed PDF saves the cut-down set as its own file if you want it outside the app.
Add pages later (addenda)
When an addendum or revised sheet arrives mid-bid, drag the new PDF onto the app while your project is open; the new sheets are added to the current set. The project keeps its name, a toast confirms "Added N sheets" to it by name, and nothing you've already counted moves or changes. Signed-in users can instead use Project Settings > Add additional PDF pages to trim the addendum first (the "Add pages" dialog, titled with your project's name) before it joins the set.
Find your way around a big set
- Pages sidebar: every sheet is listed with badges: a yellow page number means the scale is set, and a yellow outline means the sheet has marks on it. You can see at a glance which sheets are calibrated and which are done.
- Marked-page navigation: the
‹‹››buttons either side of the page arrows in the bottom bar (orShift+←/→) jump straight between sheets that have marks, skipping the empty ones. - Long titles: click the gear beside the Pages heading in the sidebar to open page settings, where you can toggle title truncation and hide unmarked pages from the sidebar.
Next steps
With the set trimmed and readable, set the scale on each sheet you'll measure, then start counting.